If your web pages take longer than expected to load, no visitor will have the patience to view your material and will eventually quit your website. Because of this, ensuring that your website loads fast is essential for both SEO and conversion rates. That’s why WordPress plugins to speed up the site are important at this point.
Your website is likely focused on text and visuals, particularly if you use WordPress. Simply noting this may encourage you to ensure your pages load more quickly. How can I ensure that WordPress pages load more quickly? You may inquire. Using plugins is the easiest solution.
In this article, we will describe the best WordPress plugins to speed up your website to assist you in choosing the best one for your website. We will also explain how WordPress plugins work and optimize your site to help you understand it better.
What Is Page Speed and Why Is It Important?
The time it takes for a website’s pages to load is known as page speed. It measures how long a web page loads after users request to browse its contents. This is why it’s also known as page load time and is an important factor in search engine optimization (SEO).
A quicker page speed enhances the user experience by enticing website visitors to stay on your page longer. A web page typically takes 5 to 10 seconds to load. However, if it takes your page a long time to load, you will lose visitors and have a high bounce rate.
For this reason, you should consider page speed while optimizing your WordPress to optimize the user experience and, by extension, SEO.
How to Make Your WordPress Load Faster
Today, WordPress is used to build more than 40% of websites. WordPress is a great platform for bloggers, websites focused on content and SEO, and other online publishers because it was developed as an open-source content management system. Because of this, your site’s loading speed matters more to WordPress than you might realize.
Let’s be honest. It would be unfortunate to see visitors leave the website you worked so hard to build because of a slow page load. Why is it so important? You may inquire. The answer is simple and clear: users leave websites that take longer than 5 seconds to load. Consequently, you lose views, clicks, and potential customers that could buy from your website.
To make your WordPress load faster, you must consider a few factors. First, you should check your website speed. You can use Dopinger’s free website speed test tool. Let’s now look at the most crucial ones:
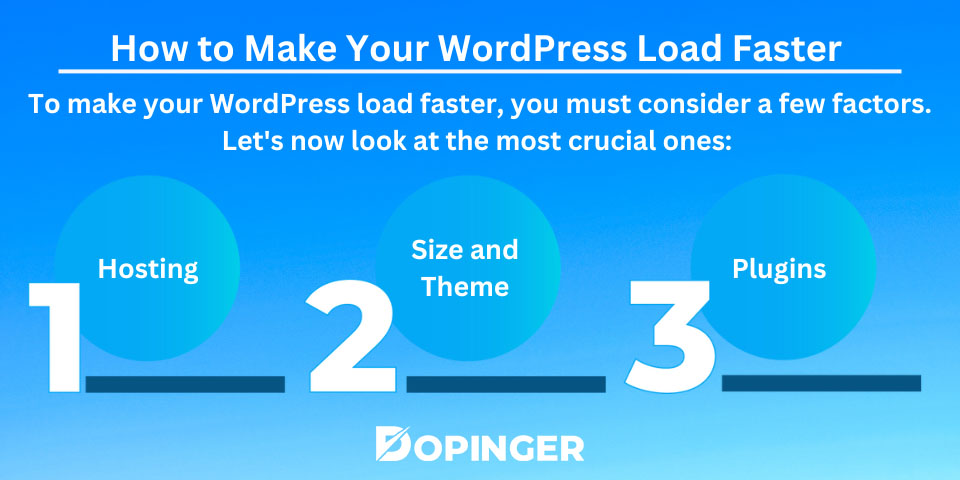
Hosting
Web hosting makes your website’s content accessible to the internet. So, when you buy a hosting plan, you ensure you have a space to store all your files and data. Due to this, you will see that your page performance will be impacted if you select a faster server. Make sure to verify the following when purchasing hosting:
- It is faster.
- It swiftly keeps up with the updates.
- It manages the volume of traffic well.
- It fits your site’s size.
Size and Theme
Your site’s size and theme are two more aspects you should pay attention to speed up page loading. As we already discussed, you need to be sure that the hosting you select fits the size of your website. When doing this, remember that the site’s size needs to be reduced for optimization purposes without compromising its quality.
Additionally, make sure to pay attention to the quality of your theme. To make your content stand out, your theme should be easy for users to grasp while yet being visually appealing. When selecting a theme, pay attention to its utility and simplicity.
Plugins
You will find it hard to speed up your WordPress site if you are not using plugins. The fundamental components of WordPress, known as plugins, provide numerous capabilities that help you optimize your website for search engines.
You should always consider if a plugin is active or updated before using it. You should also read the reviews to choose which will work best for your website. Check out the following sections to learn more if you’re curious about how they affect the page-speed optimization of your website.
How Do WordPress Plugins Work?
Plugins are crucial to the creation and customization of your website. It’s safe to assume that without them, your WordPress site won’t operate as you want it to. What are these plugins I keep hearing about, then? You may ask.
Once you register for an account on WordPress, you may install plugins, which are software additions or features that help to customize your site. They are the means of establishing a blog, a store, or even categories. WordPress offers over 60,000 free plugins, making it a popular website creation platform.
Using plugins, you may personalize your website’s themes and pages and improve your SEO. WordPress plugins include capabilities including adding images to your web pages and sidebar, making custom themes, adding contact information and social networking links, and improving SEO. You can pick from thousands of features to complete even a small function.
Therefore, all you have to do is to visit the plugin directory and navigate to plugins > add new if you want to install a plugin to speed up your site.
How Do WordPress Plugins Optimize Your Site?
One of the functions that WordPress plugins assist you with is page speed optimization. Regarding the faster page speed feature, various capabilities come into play. You’ll see that most WordPress plugins concentrate on features such as caching, lazy loading, and minification in WordPress optimization.
You might wonder why it’s crucial to concentrate on WordPress optimization for a better user experience. Your website may save data thanks to caching, load material progressively rather than all at once with lazy loading, and remove repetitive and unnecessary material in your HTML, CSS, and JavaScript files with minification.
You could still be unclear about what to pick after reading all the information we provided on WordPress plugins to speed up sites. Check out the section below to discover more about your options.
Best WordPress Plugins to Speed Up Site
You should be cautious when selecting which plugin to speed up your site because page speed is crucial to improving user experience. Furthermore, you should pick one of the top WordPress plugins to speed up your website if your visitors want to stay there.
So, here are the best WordPress plugins to speed up site, whether you’re looking for a free or a premium one, to help you speed up your website pages and thereby enhance user experience and SEO:
- WP Rocket
- NitroPack
- WP Fastest Cache
- WP Super Minify
- WP Smush
- W3 Total Cache
WP Rocket
WP Rocket is, without a doubt, the first plugin that springs to mind when thinking about the best WordPress plugins to speed up site performance. This plugin stands out among the others because it offers the most user-friendly features that can be useful for your site. There’s a good reason why this WordPress plugin for page speed is the most popular. In addition to making pages load faster, it also raises your PageSpeed score and optimizes your Core Web Vitals.
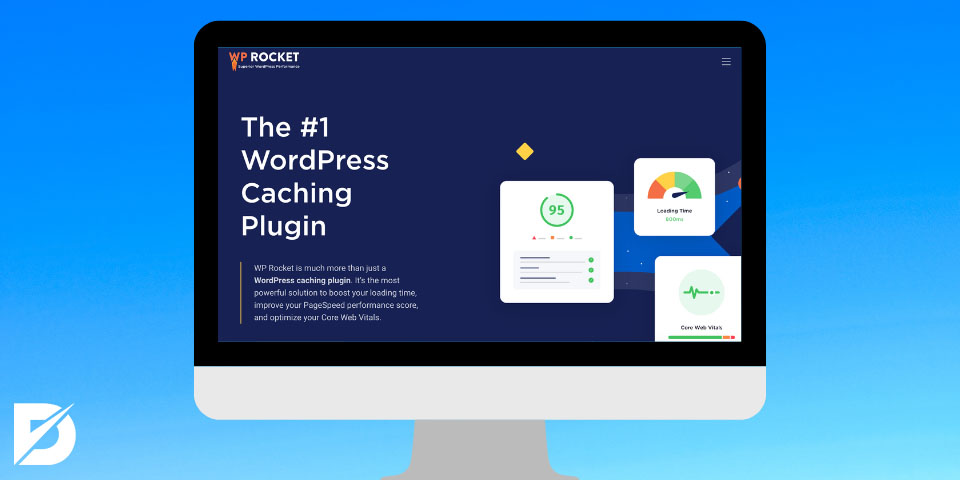
It’s free and simple to use this plugin. It is an appealing option for users looking for a quicker page load in their WordPress simply because of this. When someone views another web page on your website, it won’t have to reload because it stores browser caches, CSS graphics, and static information.
In addition to all of these, it provides a lazyloading feature that enables images on your website to load as visitors scroll down the page. This increases the page speed of your website. However, remember that you might have to pay a fee if you need advanced features.
NitroPack
NitroPack is a full-featured WordPress plugin that aids in optimizing page speed. This plugin is made specifically to speed up how quickly pages load on your website. It seeks to improve your user experience and give you a competitive edge.
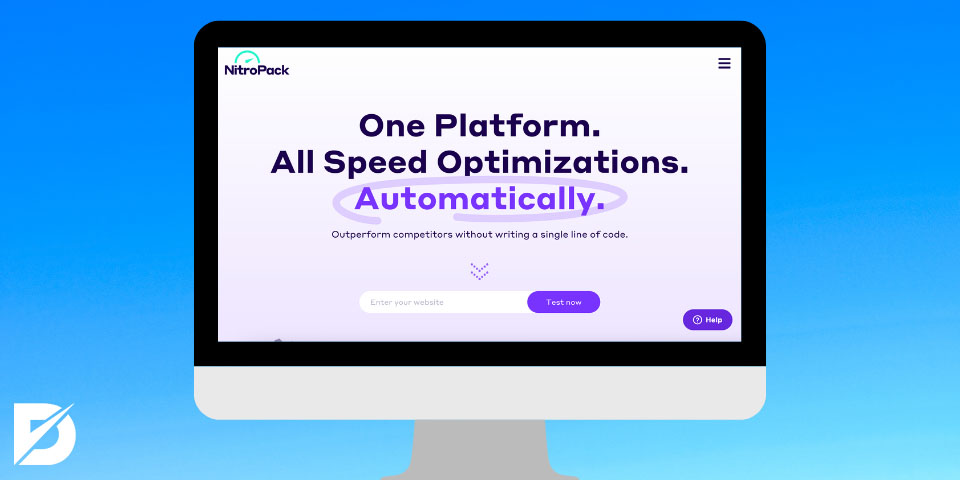
NitroPack provides features like caching, HTML, JavaScript, CSS minification, and image optimization for quicker page load time. Keep in mind that this plugin offers free and paid options based on the functionality you need.
WP Fastest Cache
WP Fastest Cache is a plugin that enhances your website’s performance, especially page speed. It is one of the finest WordPress plugins for site performance because of this. This plugin concentrates on caching to increase page speed. It accomplishes this by configuring a cache expiration period for particular URL strings.

WP Fastest Cache distinguishes itself by being simple to install and use. Once it’s configured, you can check for features like cache cleaning and minification of CSS and HTML files. Furthermore, enabling or disabling the cache for the site and mobile devices is also available. All of these features are free and aid in increasing page speed, which in turn aids in increasing SEO.
However, just like the other plugins we listed above, you must pay if you want the plugin’s more sophisticated features.
WP Super Minify
This free plugin can minimize your CSS, HTML, and JavaScript files. It’s a well-liked plugin for minifying, which is crucial to improving the page speed of your website. This plugin is also easy to set up and without charge.
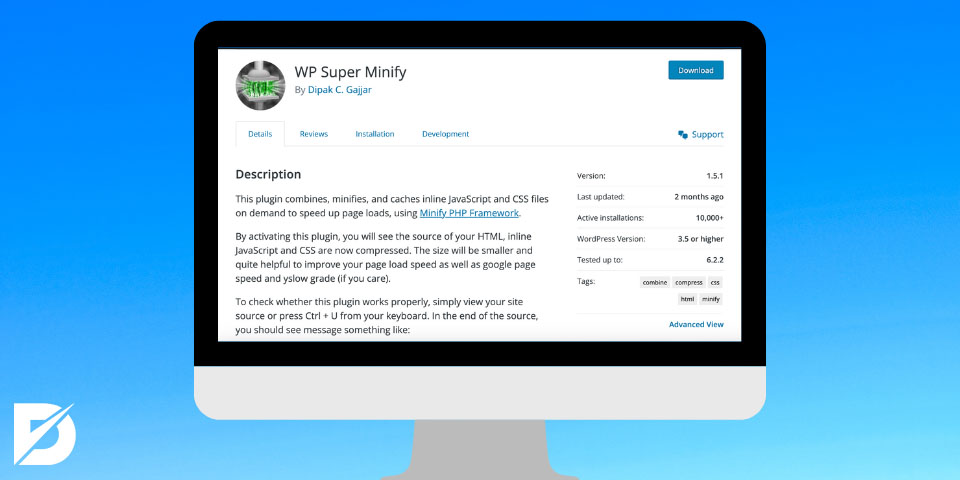
This is a wonderful tool to use if you’re looking for WordPress plugins that are individually focused on caching, minifying, or image optimization. This may result in you downloading additional plugins, but you might find it simpler to concentrate on a single aspect of page speed optimization.
WP Smush
Another free plugin, WP Smush, assists you in reducing the format of your images to speed up your website. This plugin, like WP Super Minify, concentrates on enhancing a single aspect of your page speed optimization.
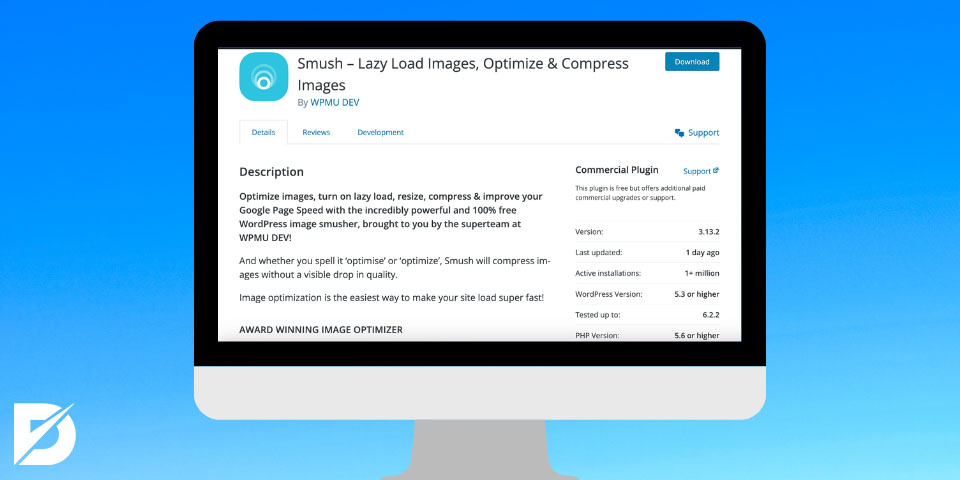
It is a free plugin that allows you to resize your images without sacrificing quality. JPEG, GIF, and PNG image formats are all supported in this plugin. Even if it aids in page speed improvement, keep in mind that you still need to download additional plugins for caching, minifying, and other page speed-enhancing functions.
W3 Total Cache
Another WordPress plugin to speed up your site is W3 Total Cache. In contrast to WP Fastest Cache, this plugin is suggested for the use of advanced users due to the potential for setup confusion.
The plugin includes a variety of capabilities, including browser caching, database caching, and minifying CSS, HTML, and JavaScript to help you speed up the page load time. Even though it is perplexing, you will handle this plugin smoothly if you are a professional. Remember that this plugin requires more time and effort to deactivate and remove than other plugins.
Conclusion
To wrap up, page speed optimization unquestionably encourages users to stay on your website, consequently benefiting your SEO. This is why choosing WordPress plugins to speed up sites should be done carefully.
In conclusion, this article defined page speed and described how to make WordPress pages load faster. Furthermore, we explained how WordPress plugins function and advised you on the best WordPress plugins to speed up your site. We sincerely hope that this article has assisted you in selecting the finest WordPress plugin for page speed optimization.
Frequently Asked Questions About
Absolutely. Visitors will leave your website if it takes too long to load, which can lower your conversion rate. In light of this, page speed affects how long visitors stay on your website and, as a result, how you will be ranked in search engine results.
You can utilize tools like Google Page Speed, Load Impact, or Web Page Metrix to assess how quickly WordPress loads. These tools will enable you to monitor the loading time of the content on your web page.
You can pick a simple theme and use an image optimizer to reduce the size of your images to make your WordPress website load more quickly. Additionally, you can switch to faster hosting, enable browsing caching, and disable any unused plugins you may have.
Not all WordPress speed-up plugins are available for free. Although you might find some helpful features for free, you might have to charge for these services if you’re looking for more professional features. All of the plugins we’ve highlighted here are free to use and have capabilities that can help your site load faster.
There are three primary factors you should look for in WordPress plugins for quicker page speed, as we’ve highlighted throughout this article. You should consider caching, lazy loading, and minifying the CSS, HTML, and JavaScript files. These elements will enable you to store the necessary data, get rid of unnecessary files, and speed up the loading of your page.


No comments to show.